| 
|
|
|
Today I watched Cosmos "A Sky Full of Ghosts" This is a 40 min. documentary about how light, time and gravity effect our perception of the universe and also goes into detail about the mysterious and discoveries of black holes. Here are some of the topics and quotes I took away from this episode:
Review: I thought this episode was amazing. I give it 5 stars. I really like the way Neil deGrasse Tyson explains things, even if the topic is really complicated he makes it so a average person could understand it and get a lot out of it. I am really interested in astronomy and the cosmos. I think it is entreating how Neil deGrasse Tyson almost takes you on a educational journey on this ship that travels through really beautiful graphic animations of the galaxy as he explains them. It is so fascinating to hear about what is beyond our world it really shows how little we know and how much more we could learn. Black holes are still mostly a mystery to scientists there is not much to go off of but I think this goes off of what they do know and makes educated guesses. Another thing I like about this documentary is it does not just focus on one topic which can get tedious and boring instead it briefly talks about the most important and interesting things about it. This show gives you perspective on our world compared to the grand scheme of the galaxy. 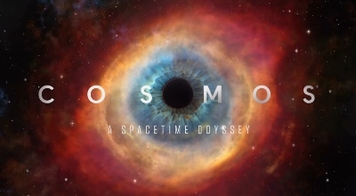 Today Maia, Morgan and I proposed the independent lab Crayon Candles. Here is our detailed proposal:
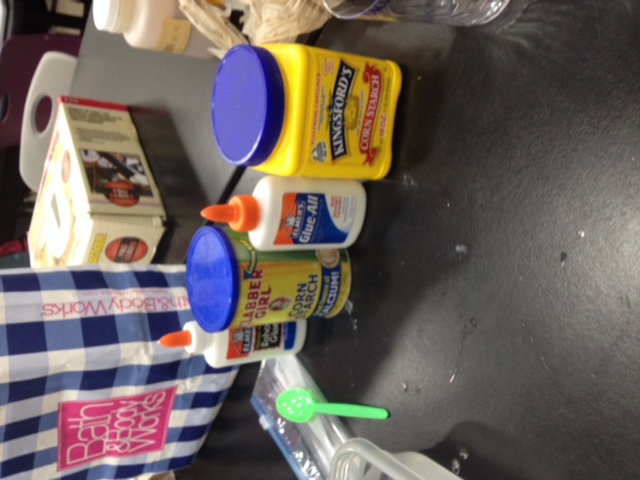
Independent Experiment Proposal Group: Audrey & Maia & Morgan Name of Experiment: Crayon Candles In this experiment we will be melting old crayons to make our own candles. Essential Questions: What are the chemical properties of wax? Does wax change on a molecular level? (from solid, to liquid, to gas) Is the scent that burns off from a candle a gas? Why does heat make wax melt. Are there any chemical reactions? We will be melting candle wax and crayons together so there will be phase change, but no dangerous chemical reaction. We will also possibly be adding scented oil to the wax. Supplies:
Potential Hazards: Being burned by wax, or starting a fire with the microwave. Safety Procedure:
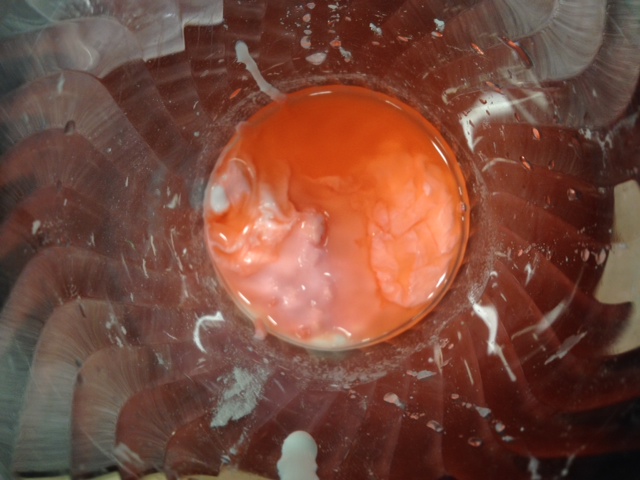
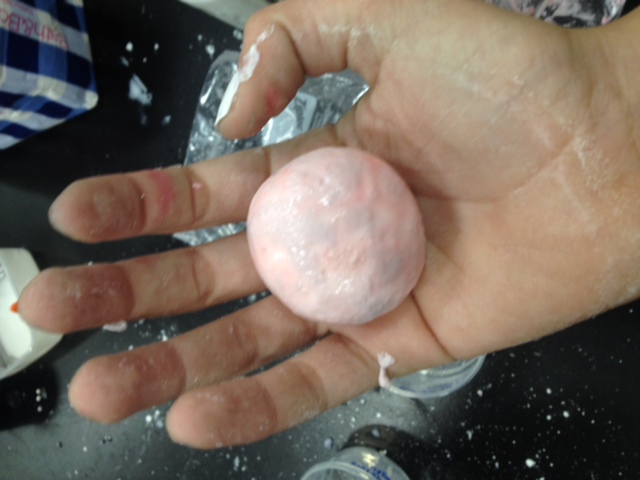
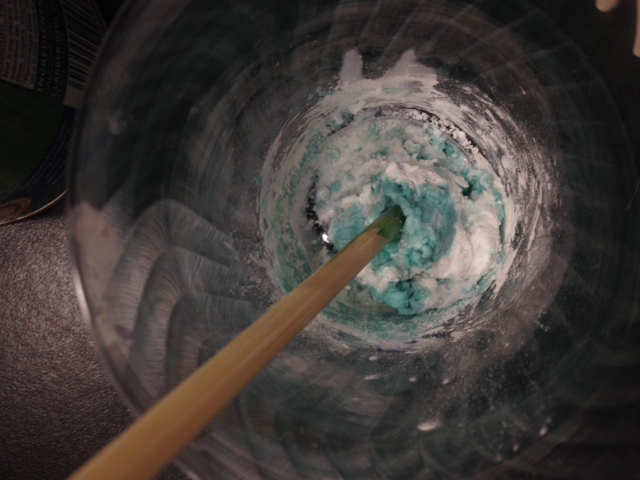
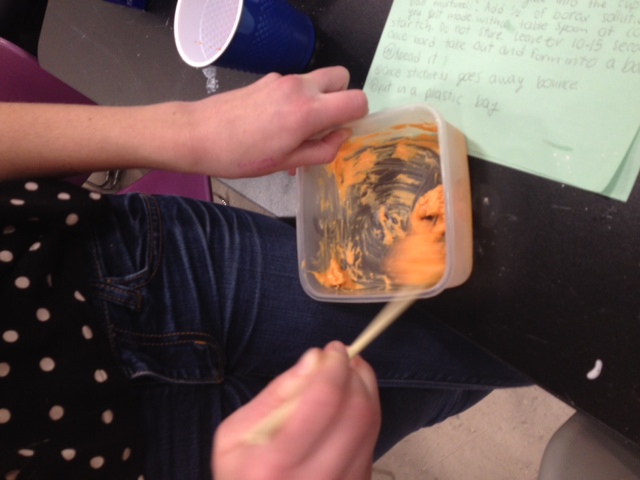
These are the links we used to come up with our steps for this lab: http://www.instructables.com/id/Transform-Your-Kids-Broken-Crayons-into-Candles/?utm_source=pm&utm_medium=related-instructables&utm_campaign=related_test http://www.brit.co/color-block-candles/ http://www.instructables.com/id/How-to-make-candles-out-of-old-crayons/ 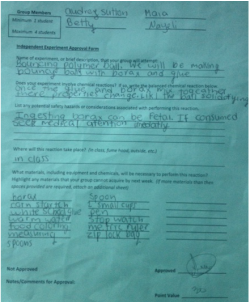 Intro: In this project my group and I, Betty Nayeli, and Maia attempted to make polymer bouncy balls. Made out of house hold items like, school glue, borax, water, and cornstarch. We also would research what makes a bouncy ball bounce and how the differs solutions form the rubber balls. Here is the proposal for our project: Looking Back: The results of our experiment did not turn out the way we had hoped. We followed the instructions as carefully as we could that was pretty easy because it was a fairly simple process. But in the end our bouncy balls turned out crumbly and dry and didn't bounce. We had two solutions the borax solution and the ball solution. The borax solution was just warm water and borax so that the borax could dissolve. The ball solution was the glue and cornstarch we slowly added the borax solution to the ball solution then mixed it and formed it into a ball. We felt that the ball was not forming correctly so decide to make a second draft to see if it would work any better. It actually did they felt a better texture we thought that they would from better over night. But mine dried up lost its spherical shape. I'm not sure where we went wrong but I think it had something to do with the way we mixed it because we let allot of air bubbles into the mixture which maybe made it more fragile. I will have pictures of our products bellow. Here is the website that we used to base our lab off of. (I do not recommend it) http://chemistry.about.com/od/demonstrationsexperiments/ss/bounceball_2.htm#step-heading\ Looking Beyond (on a molecular level): The thing that makes bouncy balls bounce is that the polymer in the ball is so condensed. Bouncy balls can be made out of many different types of synthetic polymer like the school glue that we used that contains polymers. These polymers also are called polyvinyl acetate. When mixed with a borax solution a chemical reaction occurs which makes the polymer molecules link up with each other, changing the liquid solution into a soft pliable solid. The cornstarch helps bind the molecules together so that they could hold there shape together. Different proportions of from the ingredients bring different properties to the bouncy ball. For example more cornstarch will make your ball stretch and bend more like silly putty. Diluting the glue with water will make the ball more slimy and sticky. Less borax will make a gooey ball and more borax would make a condensed smooth ball. But with the exact amounts and in the right order your ball will be the perfect polymer to bounce. So maybe that is why ours did not work is because our proportions were wrong and the incorrect reaction took place with the borax.The actual force that makes a bouncy ball bounce is kinetic energy and elasticity. Elasticity allows the ball to return to its original shape after being compressed or stretched, such as hitting the floor. So instead of splattering everywhere, the ball bounces back up. The borax is needed to help the glue and the starch stick together. This connects the two polymers into a net like formation, keeping the ball in it's shape. The extra borax might be why Betty's ball did not crumble when it hit the ground like mine did. Simplified Take Aways:
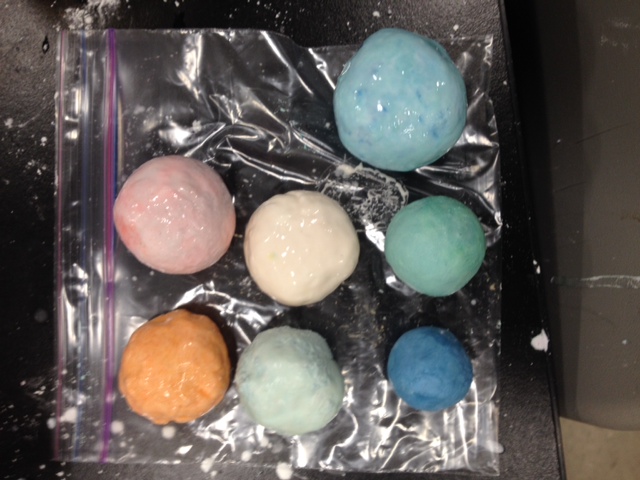
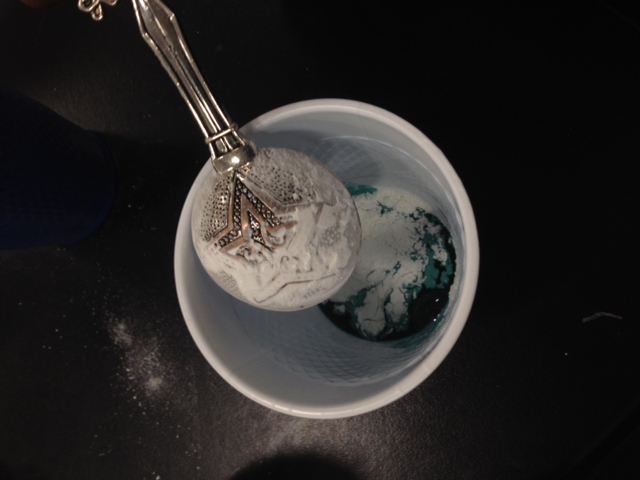
Looking Inward: We did not get desirable results. After researching I think the reason for this is that the polymer was not solidified and condensed together as much as it needed to be to bounce. It did make a rubbery texture but it was too dry and kept on breaking apart almost like when we made oobleck. After seeing that our first attempt of making the bouncy balls did not work we decided to try it again to see if we got a measurement off and did not notice. We found that the product did not change much from the last one. The only one that really bounced was Betty's. I think hers bounced bounced well because she accidentally added too much borax and she spent a lot of time molding it. Maybe we did not let the borax solution react with the ball solution instead we mixed it right away. But I think that I learned more from our experiment not working out then if it did work because other wise I wouldn't have researched it as much. I think I preformed well for the most part in this activity I brought in all my supplies and tried to do the experiment as we had written on the proposal sheet. I did not give up when my first try did not work out. The thing that I could improve on would be to make sure to do more research before the lab so that I know for sure that our instructions are correct so that the product will be straight forward and there won't be so much guessing. Looking Outward: Working with Betty, Maia and Nayeli was a solid group. We all brought in supplies and were willing to help each other out during the lab. The only thing is I wish we had worked on our proposal as a group so we could communicate better during the lab better. But I think I would like to work with them again. Looking Forward: If I was to do this project again I would use different instructions. I would let the borax completely dissolve and let it sit in the ball solution for a longer amount of time. My group would be the same expect maybe I would try to find someone who has made bouncy balls successfully before so I could ask them for advice. I could do this lab again so that I could get better results. But I wouldn't see that much of a point to continuing this project because it is a simple lab that I couldn't get much more out of. Intro: Today in class we did a instructed lab where we learned and experimented with atoms. We learned the structure of a atom which are made up of subatomic particles. In the structure there is a proton with a positive force and significant mass. We learned about this by seeing the reactions take place when water, citric acid, and magnesium are combined. What I learned: A electron that is negative, orbits around the nucleus and has a insignificant mass. Lastly the neutron which has a neutral force, with significant mass. The electron has a positive center with energy levels on electrons going on infinitely also six atoms on the outer shell. In class we also learned about more about how to understand a element by looking at a periodic table. I saw the hydrogen was at the top left hand of the periodic table and was the only element in white. It shows the atomic mass which is 1.0079. You can see almost exactly how elements are going to react with each other just by looking at the periodic table. I learned that hydrogen moves to the H atom and the O atom has it's outer shell. Then it's atoms forms into a 'Micky mouse shape' with six atoms on the outer shell. Bellow I will have a picture of my notes so that you can visualize. Another thing Iearned in the second part of this lab was what causes explosions to happen. In this case the explosion happened because the heat of the candle popped the ballon but not only that it released the helium at a very quick speed because it is a chemical gas. The Process: We got to visualize this with the lab where we made hydrogen with a reaction using citric acid, water, Rxn and magnesium. My group put all of those ingredients into a flask with a balloon covering the top. We observed the experiment we noticed that bubbles began to form on the magnesium and would float up releasing gases, heat and energy making the beaker warm. The balloon began to fill up with air and continued for as long as the bubbles popped. The reaction that take place is basic thermodynamics. I knew that the magnesium is combined with the citric acid and water, energy is slowly released from the Rxn which makes helium. Energy stays at a constant rate unless it is effect by another force or reaction. Eventualy the bubbles began to slow down and the balloon stopped inflating. Andrew took the balloon off the beaker and tied it shut and then cut off the knot so that it would be lighter. He let it go for a second and to our surprise the balloon floated quickly up into the air. This reaction had made helium. I was not expecting that the gasses in the bubbles would be helium. When every one had there helium balloons ready we turned of the lights and got some candles. I was the one who got to hold the balloon over the flame on a yard stick and explode it and see it's gasses release. Causing a really cool looking orange flare and a loud sound louder then a regular halon popping. Reflection: My experience in this lab was very good over all. At first during the begging of class when Andrew was explaining the notes he wrote in the board I was very confused and didn't understand it much. I was just trying to write down notes and copy what was on the board. But after finishing this fairly simple lab it helped me understand what the notes I took where about. When I looked back at them I realized the purpose of the notes I took and why this lab helped us understand atoms and how reactions happen with them. It was also just very exiting and surprising to see the ballon float into the air. It is really interesting to know how you could make helium and then turn the helium into water. It was exiting to see the balloons explode but also know why the explosion happend. 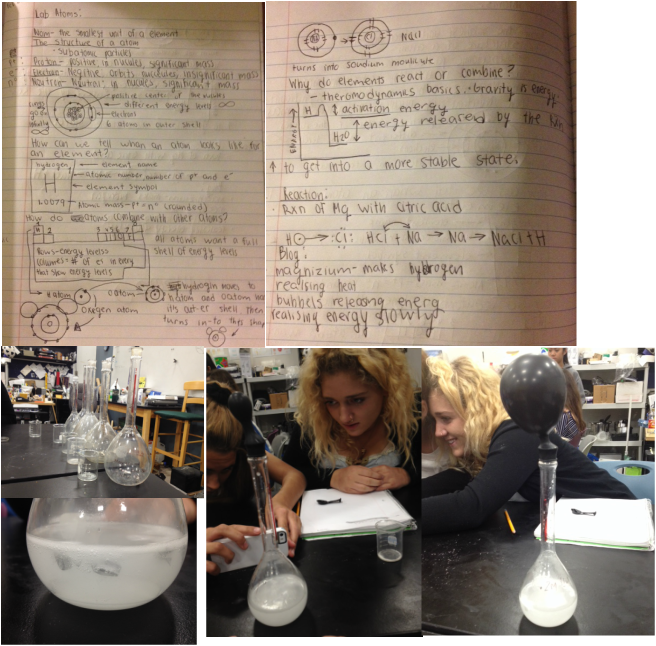
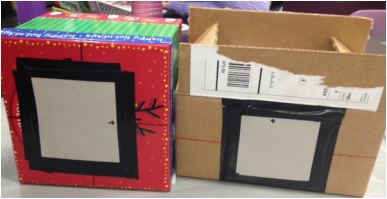
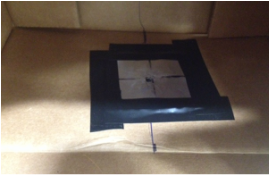
Monday: Today we got to start the process of taking our photos for the pin whole camera. Maia bought special photo paper that hasn't been exposed to light. Last week we couldn't work much on this lab because we didn't have the photo paper so instead we wrote proposals for other independent labs. The first thing we did was get our camera set up in a dark room/staff bathroom. This included putting the paper into the box and sealing it up under a red light. Next we went to Liberty to take our pictures. The picture on the left is where Maia took her picture and the the photo on the right is where I took my picture. We had to open the lens on our camera for four minutes holding it in the same place will it captures the light for the exposure. Then we have to close it again. Tomorrow we will be taking one more exposure. The next step is going to be developing the pictures using stop bath, developer and fixer, we have to buy these at a photography store. Here is a website that I found that taught me how we are going to develop our exposures. http://theartofphotography.tv/episodes/photography-lessons/the-ultimate-guide-to-developing-black-and-white-film/ I am so exited to see how our pictures will turn out.  Setting up our cameras in the dark room and taking the exposures at Liberty. Wednesday: Today I proposed a new independent project. It is called a pin hole camera. It is basically the simplest form of a film camera made out of simple supplies like a box and aluminum sheets. We will also being developing our own pictures in a dark room. Here is the link to the steps to making a pin hole camera: http://www.instructables.com/id/How-To-Make-A-Pinhole-Camera/ Here is the link to the science behind a pin hole camera: http://www1.appstate.edu/~goodmanj/penland/photo.htm The Science behind Pin Hole Cameras:
Here is a photo of my proposal: My partner is Maia. We are getting 60 points over the course of 4 days. Our goal is to develop at least 5 photos each. 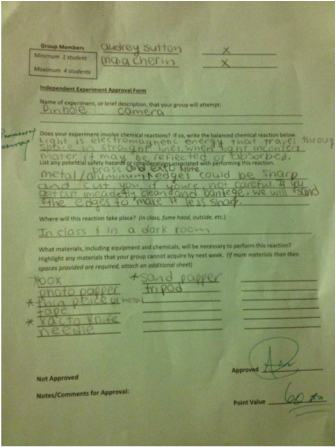 Thursday: Today we started constructing our pin hole cameras. This is what they look like so far. As you can see they are really simple. It's basically light proof box with a simple shutter on it. Later the boxes will be sealed with electrical tape. With photo paper in the back of it. Tomorrow we will try and take a few of our exposers and develop them later.
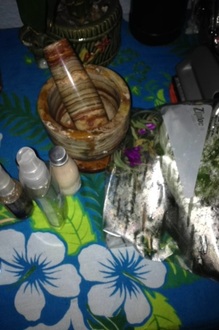
Intro: In this project my and my partner Maia we will be making hydrosols out of natural ingredients such as flowers, leaves and herbs. Mostly using the technique distilation. Our essential question is How can we extract the oils out of plants? We will be experimenting with ways to go about this process and we will be researching how this happens. Monday: Hydrosols are extracted oils from plants using evaporation. They are stemmed and distilled using a special distillation apparatus with a round bottom flask. The first thing Maia and I did was grind up the plant material I brought in using the mortar in pistol. We made sure to take out the stems of the plants and to rip up the leaves to make it easier to grind up. At that point I really liked the smell it was very natural and fresh. At first we were a little confused on what to do next because the instructions we were going to use were a bit vague. So we asked Andrew what method we should use to extract the oils, he showed us the distillation apparatus it looked pretty complicated. But it wasn't that hard to set up. The base of it works kind of like a heating plate but in the shape to hold a symmetrical flask. Next we put the processed plants along with some water into a round bottom flask. It has a small opening, which we attached a glass pipe with a bubble near the end. That bubble was used to filter out the oil from the steem/water because the molecules in the oil are heavier then in the water so the oil will drip out of the bubble and into a another container. You can get a better idea of what it looked liked in the slide show down bellow. Then we plugged it in the smell began getting strong so we moved our experiment into the fume hood. After a couple of minutes the plants and water began to come to a boil and the flask began to steam up. The plant mixture seemed to bubble up and expand as the rose to evaporate. Steam started to escape out of opening of the tube. We didn't realize this for a while but the steam is what has most of the concentrated sensed oils in it. So we had to find another way to set up so that we could preserve more of the smell. The next thing we tried was putting a piece of tin foil over the opening of the pipe tilting down to the collecting flask. That worked alright but still much of the steam was escaping. When Andrew saw that he showed us another piece of equipment we could use to prevent the steam from leaving. It was a glass tube with a thin spiraling tube glass going up all the way to the top. It is made for filtering hot liquids. This defiantly worked better but it was taking a while to get the liquid and stem all the way to the top. It was nearing the end of class, but Andrew said that he had a better idea on how to set up the filtering equipment. We had to clean up so I poured my hydrosol into a spray bottle we didn't get that much extract I think because all the stem the escaped. It was a clear liquid it did not smell as good as I had hoped. I think it was due to the plants were old because they sat over the weekend and I should have not mixed so many different types of plants. So it ended up smelling kind of like artichokes or some kind of aging vegetable. But for the first attempt of hydrosols in Andrew's class it wasn't bad. We learned quite a bit through out the process of trail and error so I think that tomorrow when we work on Maia's hydrosols we will now what to do right of the bat to make it better and a simpler process. Tuesday- Today we made hydrosols or essential oils out of the plants that Maia brought in. She brought roses and lavender. It smelled very good when we ground it up. The beginning was basically the same as mine you grind up the plants. And put them into a round bottom flask we set up the heating apparatus. And the spiral tube filter that we used yesterday. Instead of this time from the top of the spiral filter Andrew told us to attach a rubber tube at the end of the second filter of it leading to a beaker for collection. We secured all of this with a clips that you screwed into place. This apparatus limited the amount of steam and oil the would escape. So our hydrofoil turned out more concentrated then yesterday. Although it still had a strange vegetable sent due to the age of the plants I think. Also I think another factor of the smell may be that the processed plants are sting in water for a long time and almost getting cooked changing the smell when it was dry and at room temperature. It was a lot of fun again watching the water and oil mist up then evaporate up the spiral tube then getting filtered through. (I will insert a short video showing what that looks like) Summaries: What happened- The ending product did not turn out exactly the way we wanted it to because it did not smell very good. But essentially it still worked we got a oil out of plants. Our product was two small bottles of oils in two different scents it was probably about a quarter cup in total. I would say that we got more out of this lab then hydro sols. To me it was more about what we learned and the process we went through to get to our product. There will pictures of our actual artifacts in the slide show down bellow. (In the posts above I go into much more detail about what I did each day) What do you think has happened/The Science behind hydrosols- On a molecular level what has happened to make hydrosols is, When oil is exposed to heat and air the water evaporates only leaving the purified oil with a concentrated sent. So as all the liquid from the flask travels up the spiral tube it is distilling and the heavier components are dripping back down to the main beaker where is the oils are moving into steam and rising to the top of the apparatus. The term hydrosol means suspension of particles in water. Extracted the oils out of plants is called distillation. Hydrosols include the water-soluble with some volatile components such as essential oils.The science of distillation is based on the fact that different plant materials vaporize different temperatures. Compounds with a higher vaporization point will remain behind and will include many of the water soluble plant scents. Because hydrosols are made at high temperatures and are usually acidic, they tend to grow bacteria quickly. This science has been used far back in time people used it as skin treatments and aroma therapies. That might be one of the reasons our oils smelled bad because they were growing bacteria and we did not do anything to preserve it. Hydrosols are very simple in the sense that it is quite a easy thing to make but there is a lot going on with the different liquids that you can not see with the bare eye. Lab Practice: Like I said our results where as not as desirable as we had hoped but we had a lot of fun and learned a lot throughout the process. The part that made it not desirable results was that it didn't smell good like we had hoped. I think that is because it the plants where getting old and we should have not mixed many different types of plants together. I think we preformed this activity well, we did our best and we stayed on track. Even through the way we did it changed a lot from what we proposed. Collaboration: In this project I worked with Maia. We have worked in many other projects before and we always come out with a quality project. I think we preformed well we didn't have any problems even if something went unexpected we revolved it together. And I think that the work was well distributed because we each helped each other with our hydrosols. What next: If I was to do this project again things I would change would be.
I would want Maia as my partner again because she went through the same process of me so we would both be on the same page and work much faster. We could continue this experiment with our goal being to make a hydrosol that smells good. I may want to continue as like a mini lab just to get a product that I would want to use. Take Aways: The things I took away from this lab is:
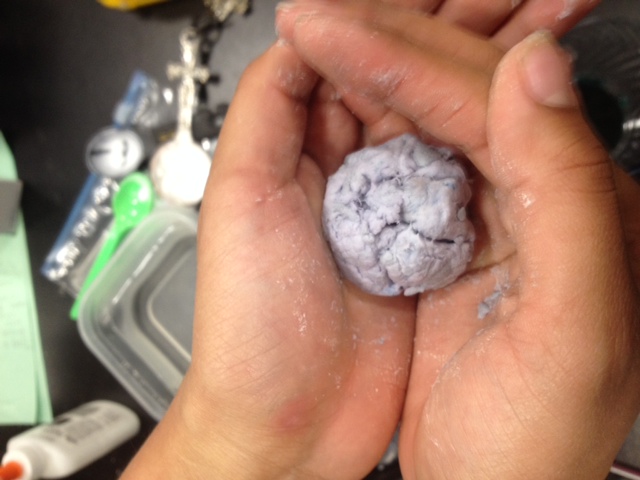
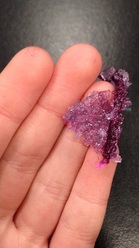
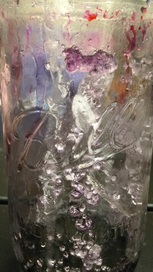
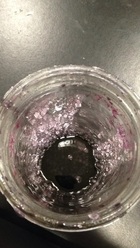
On monday we took the lids of our jars because we thought that might speed up the evaporation process a little bit. But today (Wednesday) my rock candy group decided to check on our experiment. We were pleased to see that one of the rock candies has been starting to crystalize it was a group experiment one. It was kind of sad the the other five of ours did not work but I am not that surprised because we used a different formula on that rock candy it was the ratio 3 parts sugar and 1 part water. Also that was the only one that we did not add flavoring to. I think it crystalized because it was amore concentrated solution. Where as the ones with less sugar basically stayed the same consistency as when we started. The experiment has been siting undisturbed for 8 days. The candy looked really beautiful it was a dark purple color. There was not many crystals on the piece of string but a lot on the edges of the jar. I am so happy that our group on actually crystalized. We felt very accomplished because we are the only group in this chemistry class that has successful rock candy.
This friday I proposed a new independent lab idea. We will be making hydro solves (similar to essential oils) out of natural ingredients flowers, leaves, herbs. My essential question is: How can you extract the smell out of natural matter? My partner for the lab is Maia Cherin. I'm very exited to start a new lab. Andrew said that making essential oils would take too long so we diced to do hydro solves because they are similar to essential oils except they are using a drop of rubbing alcohol and water instead of just the oil. Bellow is a picture of my lab proposal and some of the supplies that I collect yesterday to use for this lab. I picked some eucalyptus, sage, dandelions, and rosemary to use from my hydro solves this Monday. Maia is going to bring in some roses and lavender. I am really excited to do this lab.
| AuthorMy name is Audrey. I'm a sophomore at HTH. I love the earth. ArchivesCategories |


 RSS Feed